Help Connecting to File Repository
Help Connecting to File Repository
Download & Install a Git Client
A git client is used to connect to the file repositories for our projects. There are many commercial and free git clients out there. If you don't have one that you prefer, try the ones listed below.
For Mac:
[Tower]
For Windows:
[Eclipse]
Connect to the Repository
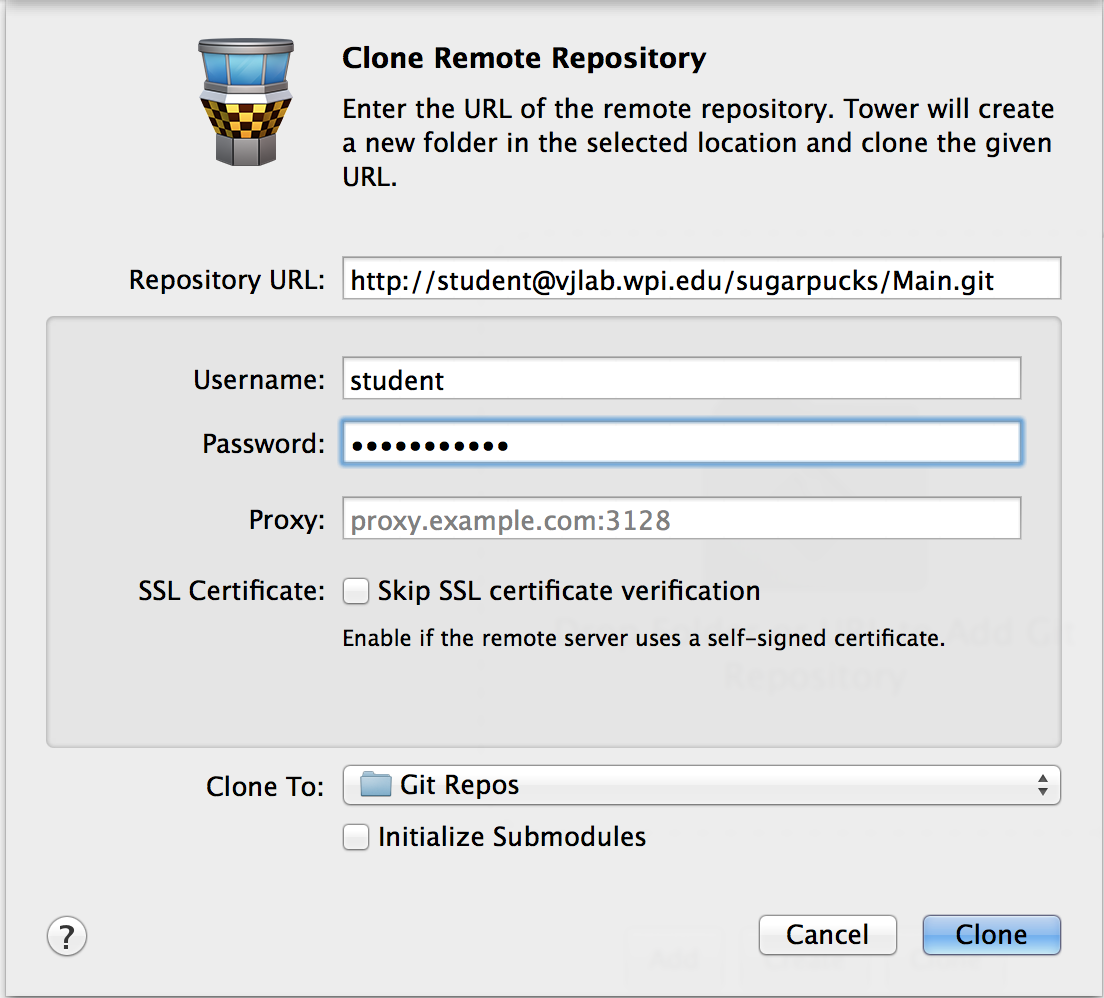
You need three pieces of information to connect to the repository: 1) the remote repository address, 2) the username, and 3) the password. The repository link for each project is given on the project page. The login credentials change all the time, so ask Manzo for the current username and password.
Connect
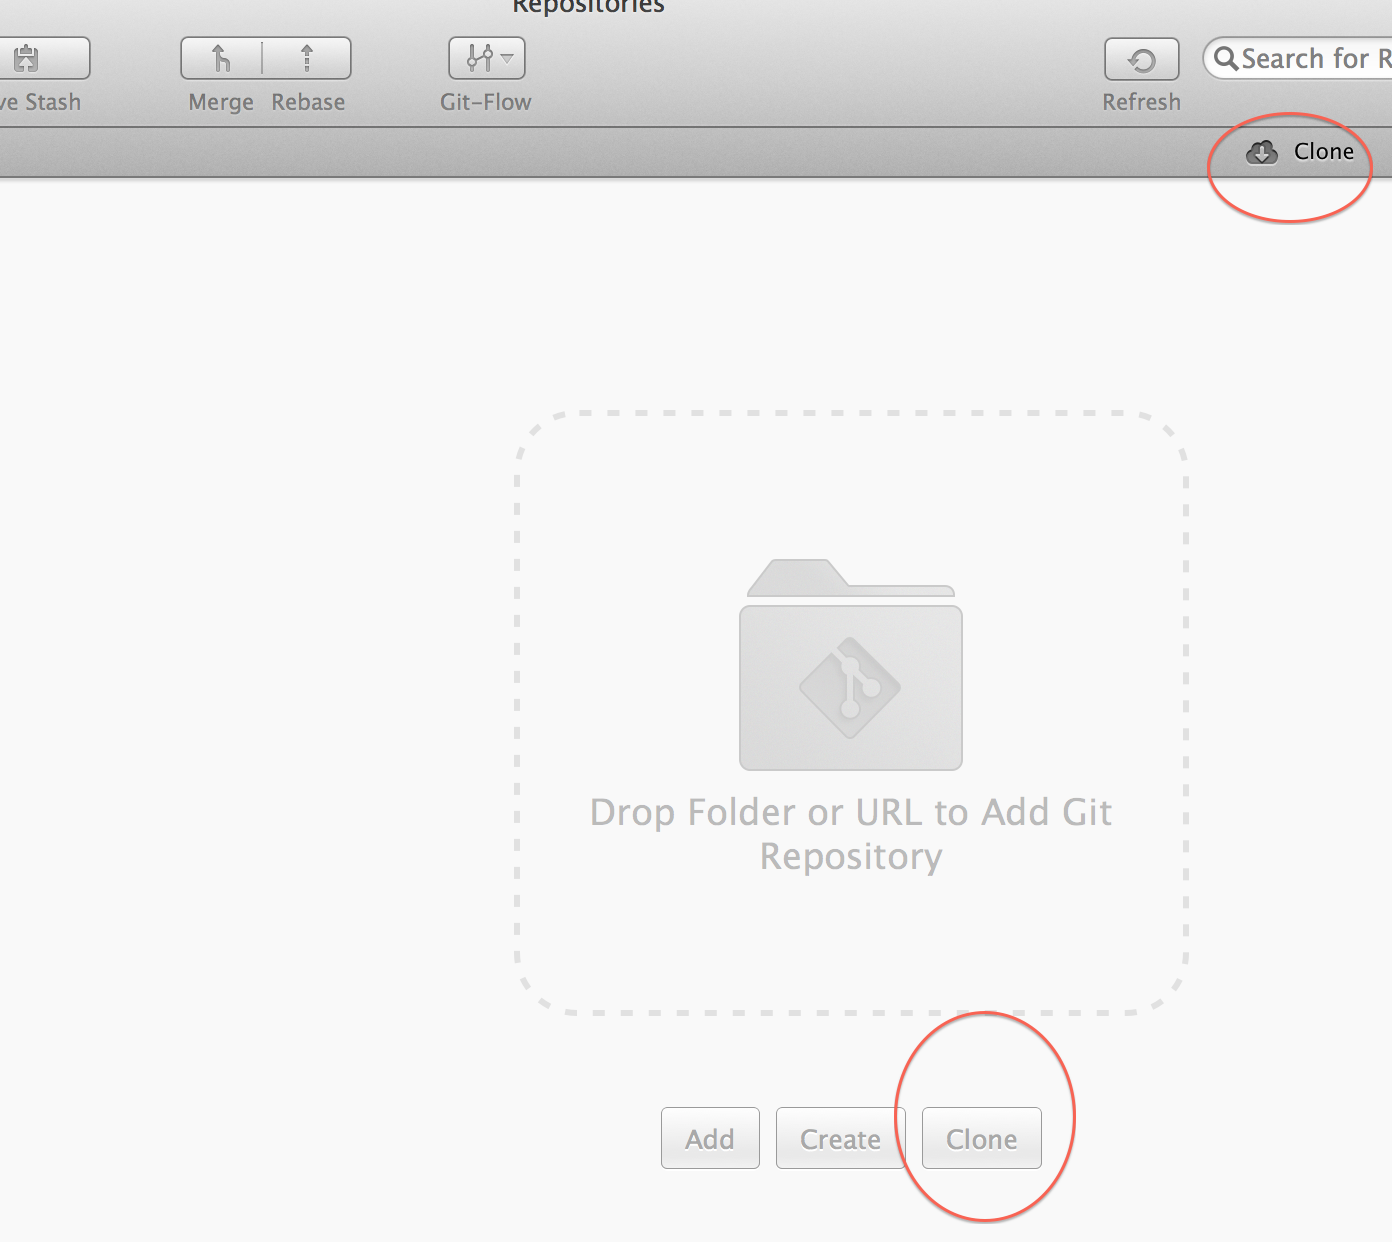
Inside the git clients, look for something that says "Clone" or "Connect to Remote Repository". Remember: a "local repository" refers to the project folder on your computer (local) not the one on the project server (remote).
Add the appropriate 1) repository address, 2) username, and 3) password to the connection screen and click connect. You should also select a folder on your computer (locally) where you will store the project files. Remember: if you are connecting from outside of the WPI campus network, you will need to [VPN] in order to connect to the git repository.
Pulling Files
Once you connect to the repository, the git client should automatically begin downloading, or "pulling", the files from the server to the folder you identified in the previous step. If this did not seem to happen automatically, look for an icon that says "Pull" while selected on the project name of the repository you've connected to. Once the latest files are pulled, you can close git and open the local folder changing files as needed to work on the project.
Pushing Changes
Once you made the edits you'd like to your project, open your git client again and "Push" the changes by identifying the "Push" button in your git client. You will be asked to "stage" all of the files that you'd like to upload and enter a "Commit" message describing the changes you've made to the project since you pulled the files from the server. Once you've entered this information, click "Commit" or "Push" to push your changes to the server. This tutorial provides no support if you have commitment issues.

