Difference between revisions of "Embedding Media"
From vjmedia
(→3 Steps to add videos to your wiki page, you'll need to:) |
m (Protected "Embedding Media" ([Edit=Allow only administrators] (indefinite) [Move=Allow only administrators] (indefinite))) |
(No difference)
| |
Revision as of 15:26, 19 October 2015
Contents
To add videos to your wiki page, you'll need 3 steps:
- Upload the video to WPI's streaming server
- Obtain the embed code for your video
- Make a small change to the embed code and add to your page
1) Uploading to the media server
- Head on over to https://video.wpi.edu/app/SingleSignOn/default.aspx and log in. (If you go to video.wpi.edu, be sure to click on the "Login from Your Institution" link)
- Click the +add button to upload your video to the appropriate library
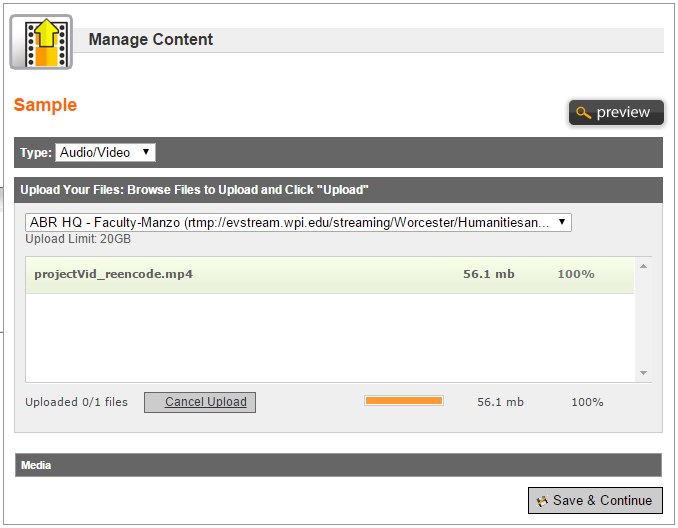
- Fill in metadata fields (Title, description, etc) and press Continue
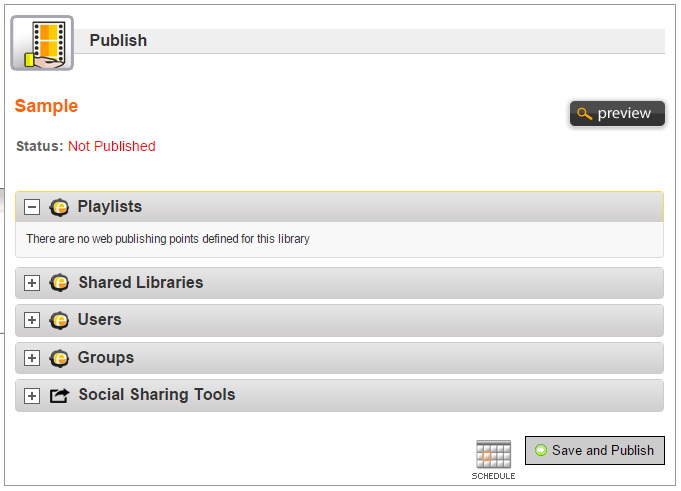
- Upload your file(s) and click Continue to go to the Publish section
- Choose any playlists, if applicable, and click Save and Publish
2) Obtaining Embed Code
- Navigate to the Media Library where your video is stored
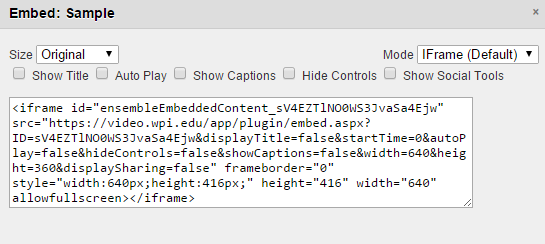
- Locate the sharing options beneath the preview image thumbnail. See image for the Embed Code option
- Copy the iframe code provided
3) Make a change to your embed code
Go ahead and past your code into the intended wiki page. Notice how the code starts with <iframe id= and ends with </iframe>. Those are iframe "tags"--a kind of markup used for web pages, but not for wikis. Make the following 2 changes:
- Replace <iframe id= with <htmltag tagname="iframe" id=
- Replace </iframe> with </htmltag>
And you're done!


